 So here are the reasons why I cannot attract a man (mostly according to my dad):
1) I love to eat. That's no secret. And I'm definitely not the type to order a soup and salad on a date. Hell No! When I eat, I really eat. I'm not dainty and I don't censor my habits around anyone - despite how cute they may be. My dad often yells at me and says that eating too much food will scare the boys away. I just laugh and stick out my tongue like a five year old. Its a ritual we've developed at the dinner table. My dad is very old fashioned, if you can't already tell. He thinks girls are supposed to be very quiet and obedient. That's how my mom was. He said that when they were dating, she never ate like I did and was very pleasant and shy. I'm sorry daddy but I can't be like mom.
2) I love action movies - the bloodier the better. I do enjoy romantic comedies and sappy love stories once in a while - but sometimes its just too much cheese for me, ya'kno? I've taken a liking to gangster films and old kung fu movies, which aren't very girly but who cares? I'd rather watch The Godfather then sit through the horrible acting that makes up Twilight.
3) I love to drink. I don't drink all the time, but when I do, I drink a lot and it takes a lot to get me drunk. I think I've only been completely wasted one time - and I never want to feel like that again. I can out-drink a lot of my guy friends and beat them at beer pong at the same time.
4)And the final thing that makes me such a guy and not the marrying type? My dating history. But that's a story for another time:)
 Don't f*ck with me in the kitchen or I'll mess you up (according to my apron courtesy of Derrick)
 These girls know what a total guy I can be
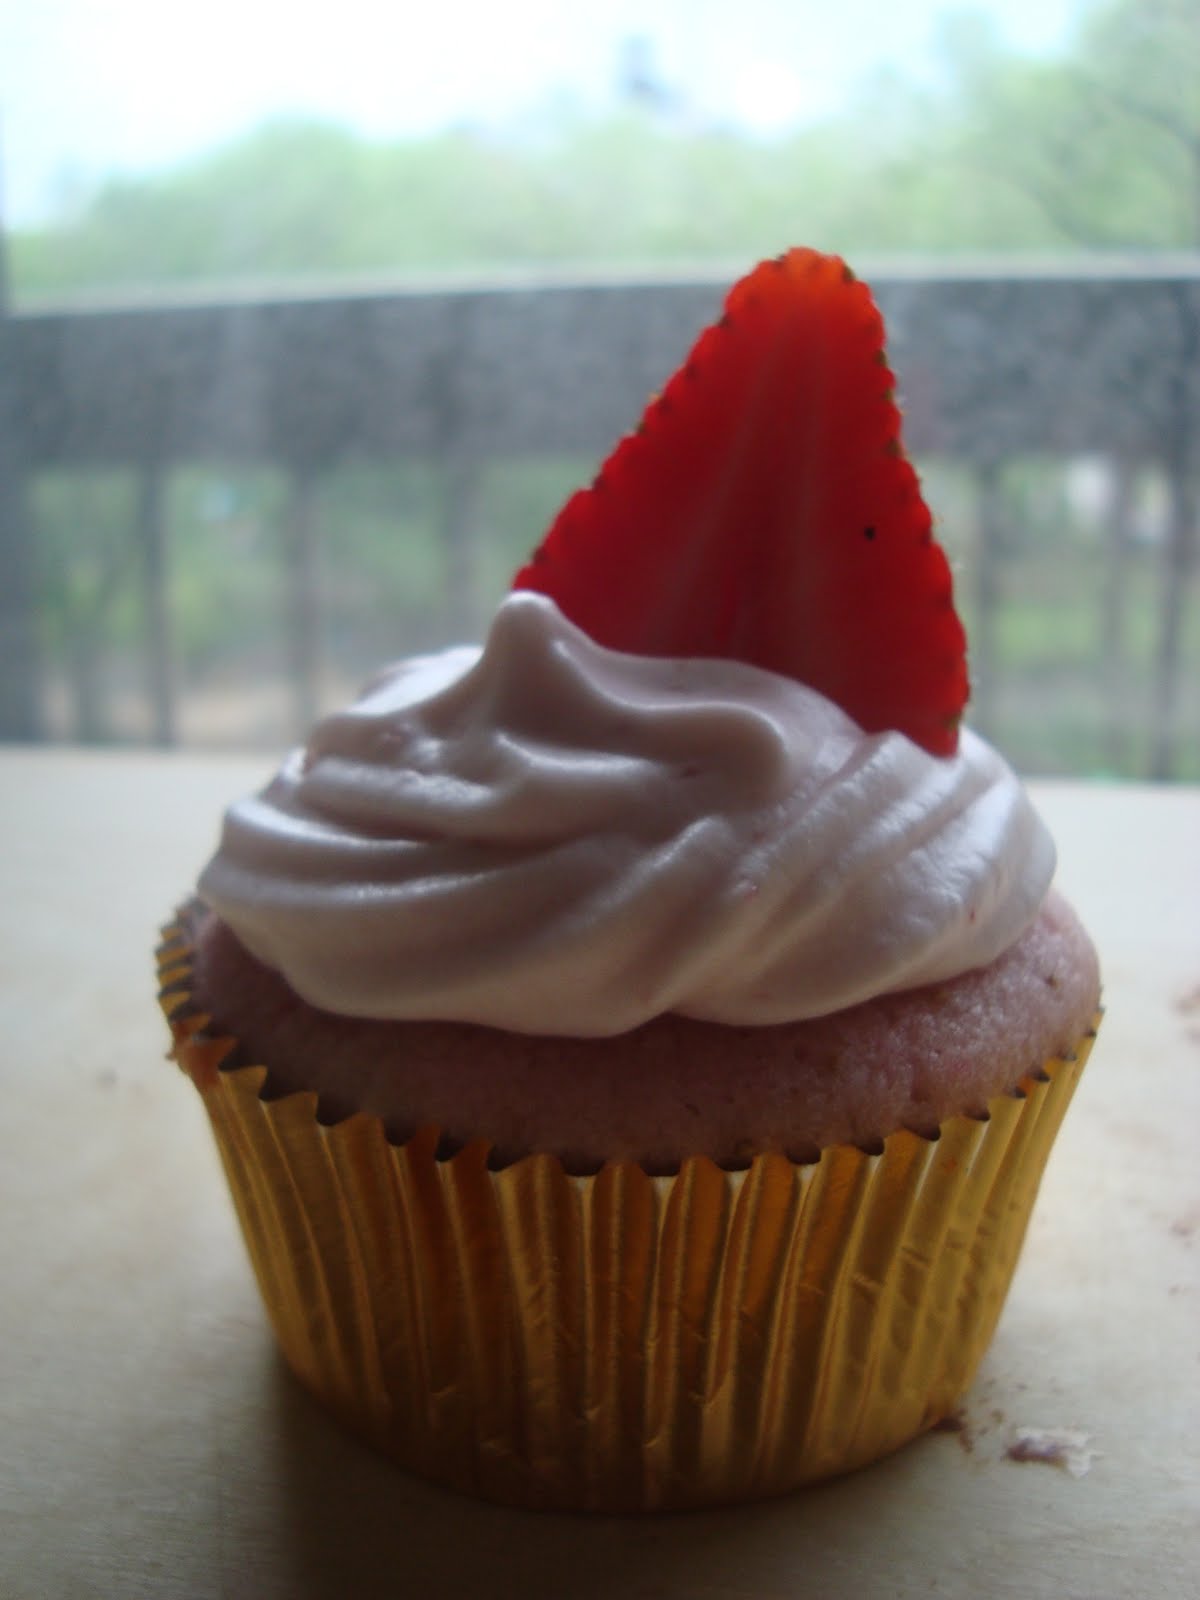
Strawberry Cupcakes with Strawberry Cream Cheese Frosting
Adapted from Sky High Cakes by Alisa Huntsman
 *This recipe yields a lot of cupcakes - maybe 36 OR a triple layer 9-inch cake. For less cupcakes, halve the recipe.
For the cake
4 1/2 cups cake flour
3 cups sugar
5 1/4 teaspoons baking powder
3/4 teaspoon salt
3 sticks (12 ounces) unsalted butter, at room temperature
1 1/2 cups pureed frozen strawberries*
8 egg whites
2/3 cup milk
1 to 2 drops red food dye, if using (to make the pink color pop more)
Make the cake
1. Preheat the oven to 350»F. Line 24 cupcakes tins with paper or foil wraps or butter three 9-inch round or 8-inch square cake pans and line with parchment or waxed paper and butter the paper.
2. Put the flour, sugar, baking powder, and salt in a large mixer bowl. With the electric mixer on low speed, blend for 30 seconds. Add the butter and strawberry puree and mix to blend the ingredients. Raise the speed to medium and beat until light and fluffy, 2 to 3 minutes; the batter will resemble strawberry ice cream at this point.
3. In another large bowl, whisk together the egg whites, milk and red food dye, if using, to blend. Add the whites to the batter in two or three additions, scraping down the sides of the bowl well and mixing only to incorporate after each addition. Divide the batter among you prepared pans
4. Bake the cupcakes for 18-23 minutes or the cakes for 30 to 34 minutes, or until a cake tester or wooden toothpick inserted into the center comes out clean. Let stand until completely cooled before assembling the cake, at least an hour.
Strawberry Cream Cheese Frosting
*Note - This was not the frosting used in the book. I chose to do something simple and just added a strawberry sauce to my usual cream cheese frosting recipe.
1 package cream cheese, softened
1/2 stick unsalted butter, softened
3-4 cups sifted confectioners’ sugar
1/4 cup Strawberry Sauce
For the Strawberry Sauce, macerate strawberries with about 1-2 tbs sugar for 15 minutes. Put strawberries in a small saucepan and heat under medium heat with lid on. Cook strawberries for approximately 15 minutes till strawberries cook down and become soft and saucy. Adjust sweetness with sugar until you get the desired sweetness. Using a hand blender, puree until you get the desired smoothness or chunkiness. Cool before using in recipe.
Bring cheese and butter to room temperature. Sift powdered sugar into a bowl. Beat butter and cheese at medium speed until creamy. Add half of the sugar, beat until combined. Add strawberry sauce until you achieve the right color and flavor but making sure not to add too much or the frosting will be too soft. Gradually add any remaining sugar until you get to the consistency and sweetness you like.
When the cupcakes have cooled, spread the frosting onto the cupcakes with a spatula or butter knife or pipe the frosting using a ziploc bag with a hole snipped at the corner and the piping tip of your choice.


